Ackee Analytics with MongoDB Atlas using Netlify
I transitioned from the spyware of Google Analytics to a more privacy focused analytics solution. I also didn’t require the granularity that Google Analytics provided. My other requirement was that I’m lazy and didn’t want to self-host. Thus I opted to use Ackee and Netlify in conjunction with MongoDB Atlas. It took me about 20 minutes to create the necessary accounts and install the small snippet of code to start seeing the analytics.
MongoDB Atlas
-
Create an account at MongoDB Atlas and opt for a free account. Create a new
Projectand then clickCreate a New Clusterbutton and wait for it to finish. -
Under the
Securitycolumn, selectDatabase Accessand create a new user database user by clickingADD NEW DATABASE USERand choose to authenticate using thepasswordmethod. Make the usernameackeeand create your own strong password. -
Select
Network Accessand thenADD IP ADDRESSand enter0.0.0.0/0to make it universal since Netlify will be making the requests and not your local machine. -
When the cluster is finished creating, select
Connectand thenConnect your applicationand note a similar connection string ofmongodb+srv://ackee:<password>@cluster0.<your-server-uri>.mongodb.net/myFirstDatabase. That is all for now
Netlify
-
Click the
Deploy to Netlifybutton found on Ackee’s Getting Started page. Then authenticate using your existing github credentials. -
Netlify will prompt you for a few credentials. Enter the following:
- ACKEE_USERNAME =
ackee - ACKEE_PASSWORD =
<your-strong-password> - ACKEE_MONGODB =
<your-mongodb-database-password-from-atlas> - ACKEE_ALLOW_ORIGIN =
*
The astrix can be replaced with your netfliy URL. Mine looks something like this dazzling-engelbart-xxxxx.netlify.app
NOTE You can change these environment variables after you create the website inside netlify under Deploy->Environment
- Allow Netlify to now create your repository on github and build and publish it automatically! Login to your Ackee web interface, in
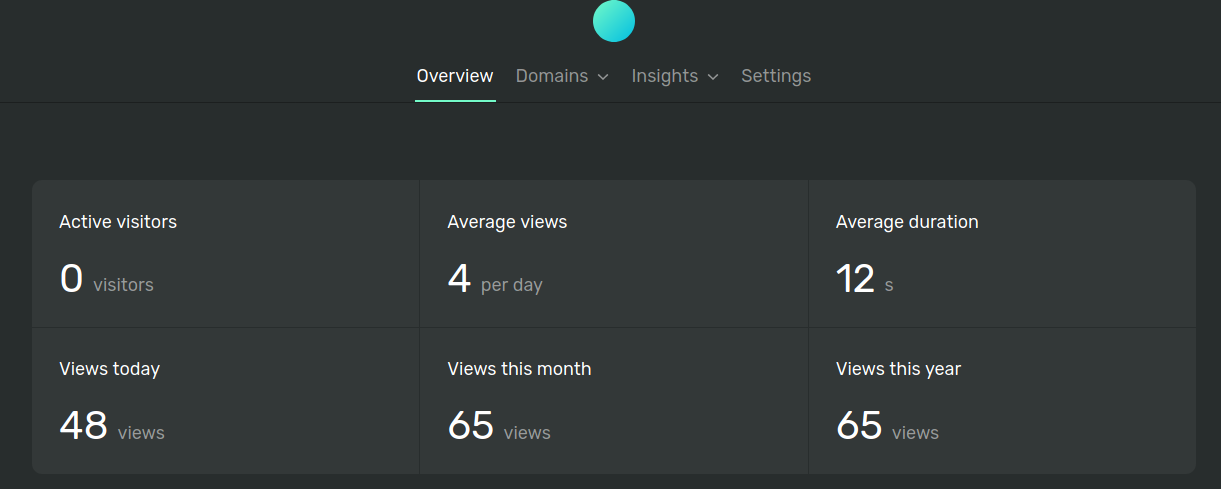
Settingspanel, set up aNew domainin theDomainssection. You should also see the the tracking code (embed code) with a uniquedomain-id. Copy and paste this code in the header section of your website in order to capture all vists. In Laravel, there is a uniquehead.bladetemplate for stuffing this into.

-
See this blog post on how to keep up-to-date with Ackee.
-
You can now export all of your existing Google Analytics information into excel and delete the tracking code.
Leave a Comment
Your email address will not be published. Required fields are marked *
Note - Sometimes a comment submission will fail. Simply press the "Submit Comment" button again until a green success box is shown